|
|
|

|
|
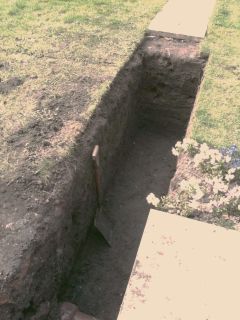
Min depth to the bottom of foundations on domestic dwellings is 0.9 of a metre, here we are at 1.4 metres depth & still going! |
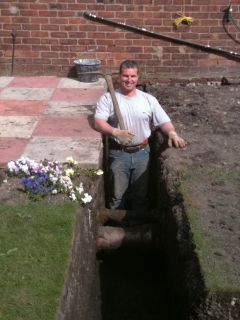
An honest days graft & my back is still in one piece! |
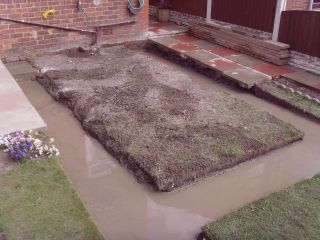
Looking nice & neat, but still not deep enough ! the ground was too soft to build on, better safe than sorry, so got the foundation piling lads in. |
|
|
|
|
|
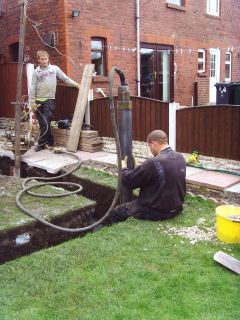
Starting the pile driving |
Adding on extra tube |
Wow, 10 feet deep here! |
|
|
|

|
|
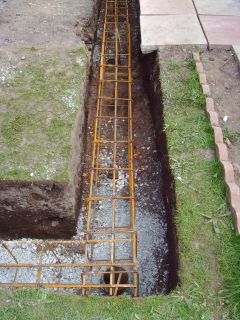
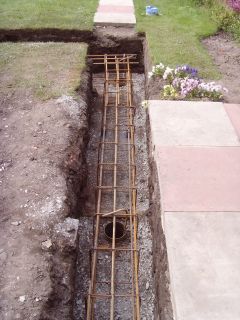
Ring beam in place |
Ready for the concrete |
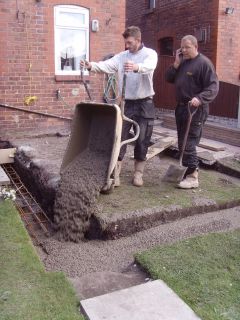
In she goes! |
|
|
|
 |
|
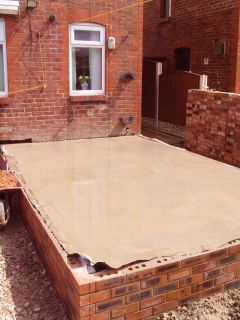
Barrow service from the concrete lads |
Perfectly level |
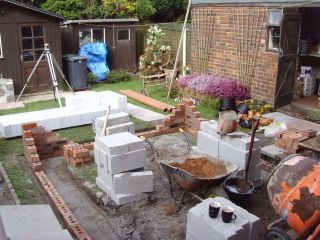
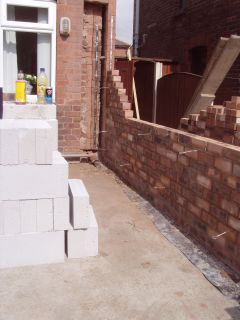
Starting Brickwork |
|
|
|
 |
|
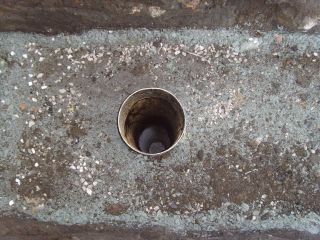
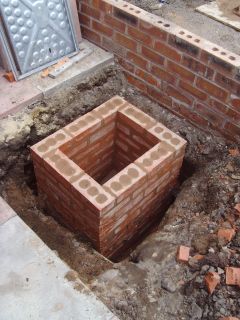
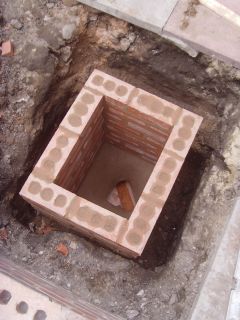
A good old fashioned inspection chamber had to be built |
Internal flaunching over the engineering brick, with cement bag finish |
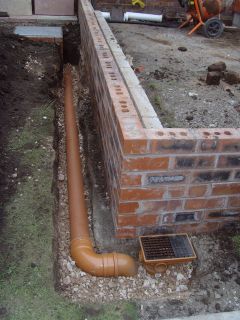
Back inlet gully & trap on pea gravel |
 |
 |
 |
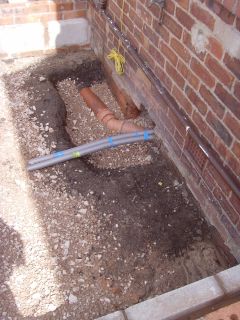
| Drain connection to under floor |
Hot & Cold feed with insulation & ducting |
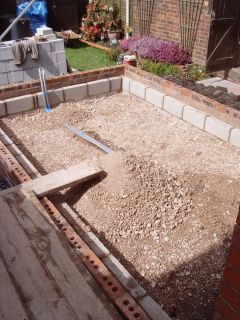
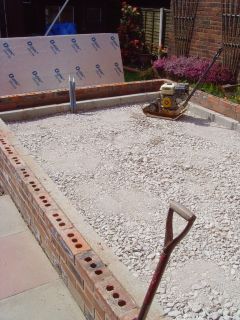
Hardcore compacted at every 6" layer intervals (6 tons) |
 |
 |
 |
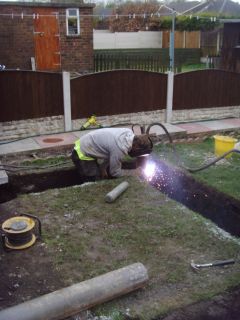
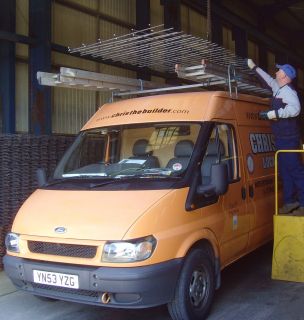
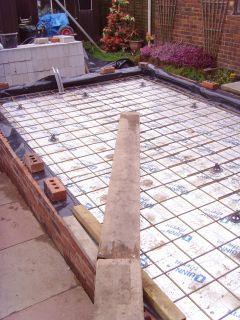
| Restricted access on site, so I had the reinforcement mesh cut in two to fit through the customers gate |
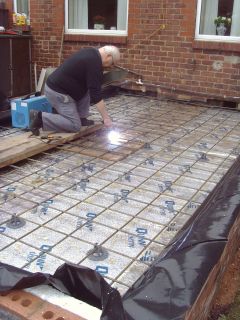
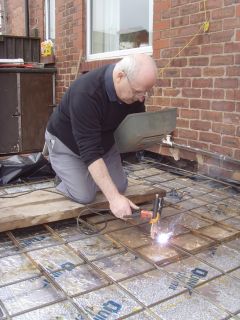
And here he is, Mr Sutcliffe using his skills as a retired fitter, to weld the mesh back together with new lenghts of re-bar. Thanks John! |
A393 10mm re-bar fabric mesh, on 50mm Styrofix plastic spacers, on 80mm Quinn Therm, on 1200 gauge visqueen, on 1" blinding sand, on compacted limestone hardcore |
 |
|
|
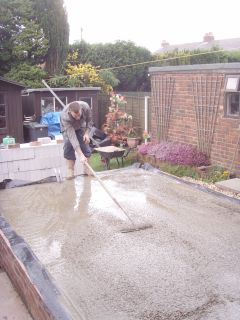
| Ready for action, with the mesh a 1/3 from the bottom of the slab. It really is a perfect job |
The free barrow service is a great idea from the concrete lads & saves my back! |
I took out some of the brickwork from the house wall & floated the concrete underneath it to achieve four sided suspension |
 |
|
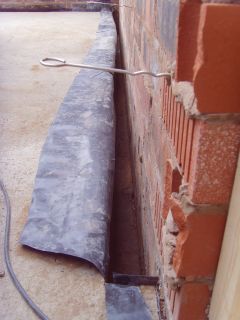 |
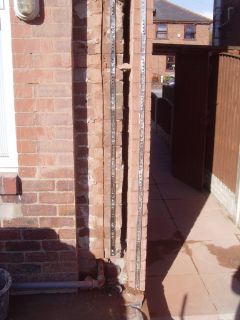
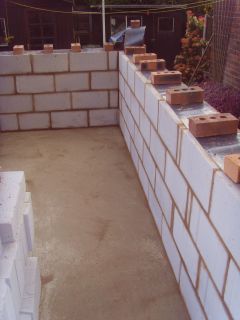
| House wall cut into & wall starter kits bolted on |
External leaf going up |
Polysterene removed & a very clean 3 course below dpm chase (I hooverd it!) |
 |

|
 |
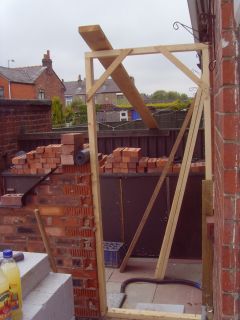
| Temp door profile |
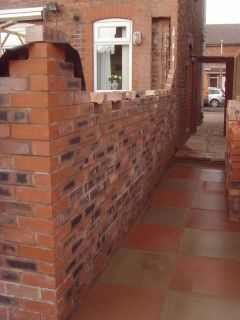
Smooth reds on the corners to give a bit of character |
I made a new flagged path around the extension sooner rather than later to keep the mud down to a minimum |
|
|
|
|
|
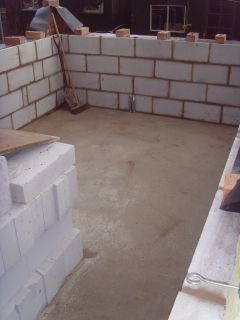
85mm full fill thermo slabs in |
A tidy bit of internal blockwork |
Spotless floor, even at this stage |
 |

|
 |
| Dodging the rain |
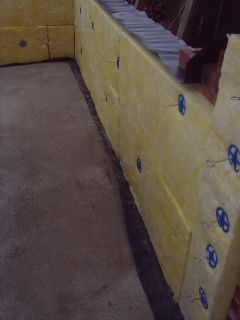
Full fill wall bats going in |
Internal wall tied into house |
 |
|
|
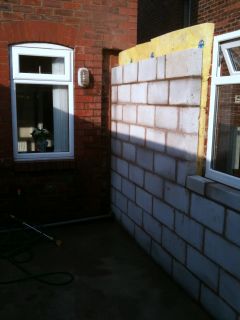
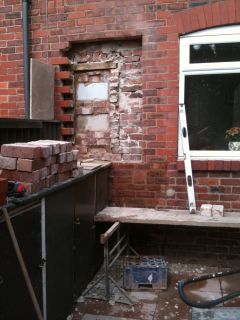
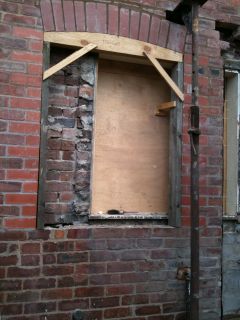
| Small pantry window bricked up on the inside, then the outside toothed out ready for the large window move |
I removed more brick than I planned for, as the mortar in the old wall was'nt up to the job of supporting the new load, so I rebuilt it |
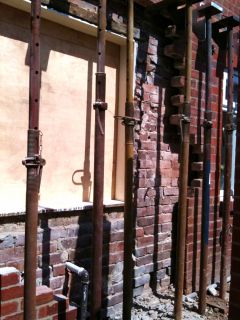
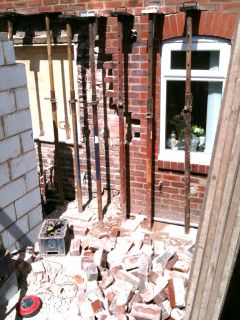
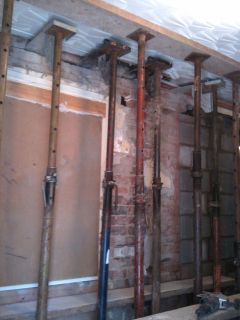
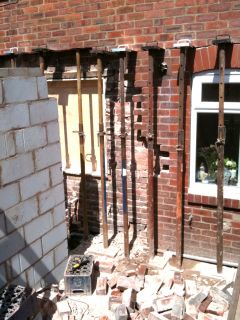
I did the maths & came to the conclusion that 3 acrow props would take the temporary load, but better safe than sorry with me, so I put 8 in! |
 |
|
|
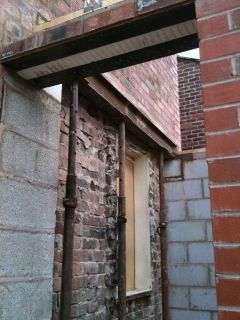
| I built a wooden form, then a brick archway to match in with rest of the house with cement bag finish. You can see where the old window used to be in the background. |
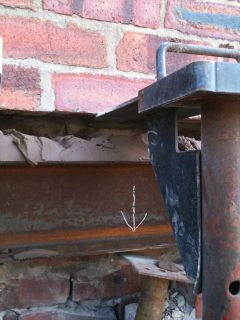
This is where im different to other builders... I load up the R.S.J with mortar, then force it up into the wall with acrows, instead of trying to slot bricks in above it. (Arrow is just a marker) |
I leave the props in for a few days, then hammer steel packing shims in at each end, between the gurder & pad stone, not bits of slate like the cowboys do. |
 |
|

|
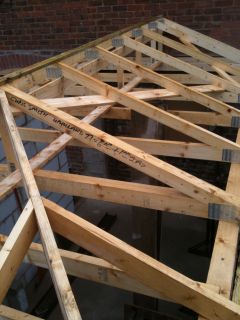
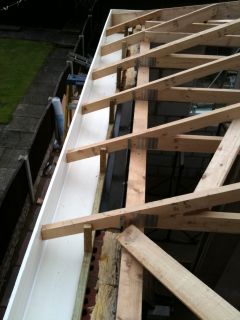
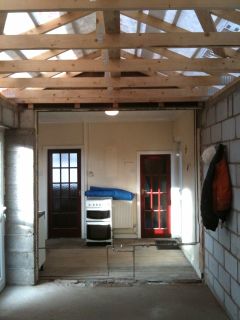
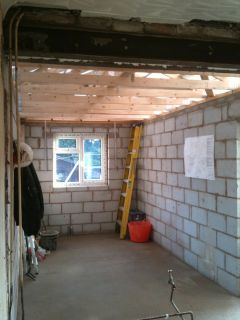
| Pre-fab roof trusses in, & jack rafter work. |
Facia's & Soffits in, with eaves support over external skin. |
Felt support trims in. |
 |
|
|
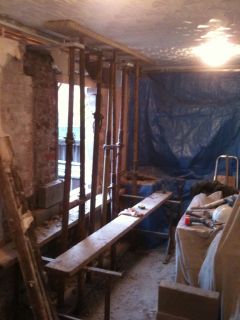
| Starting to remove the internal wall, this is where most of the weight is, so doubled up on props, just incase. |
Floor supported, but with extra strong-boy supports in the brick courseing too, nothing drops or moves when I work on it. |
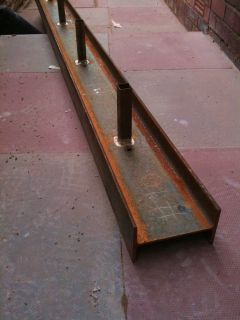
I had spacers welded into the internal beam to avoid any lateral bowing, the two beams are then bolted together. |
 |
|
|
| Instead of just building up from the old window cill, I took all the brickwork out from the floor level & replaced with newboth sides, with vertical d.p,c's. An extra two days work, but worth it for peace of mind. Ties on every course. |
Before |
After
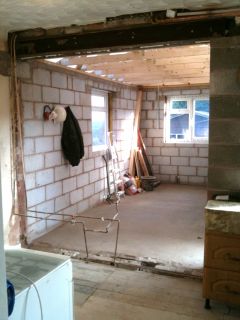
Walls removed, all the hard graft & mess done while my customers took a short break in sunny Wales! |
|
|
|
|
|
Before |
After |
Nice & Tidy |
|
|
|
|
|
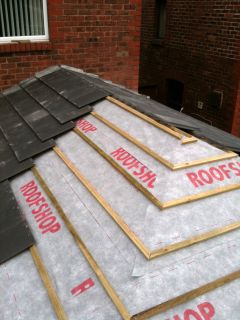
Tiles going on, breathable underlay & a 5" head lap |
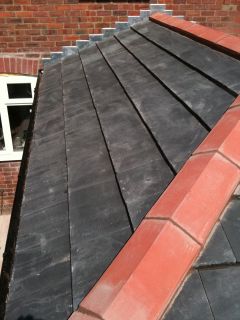
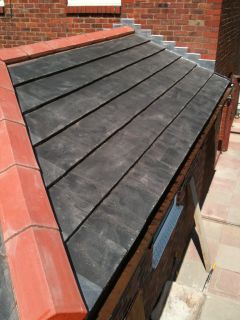
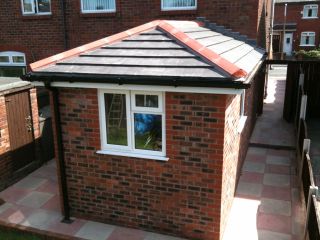
Roof On |
Lovely, dead straight. |
|
|
|
|
|
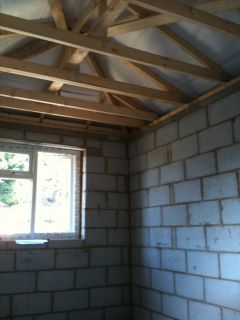
Building Inspector passed the structure, now ready for first fix electrics, then plastering. |
First fix in and dry lining started, all by me of course & a pic of the most useful piece of equipment I have.... two beer crates! |
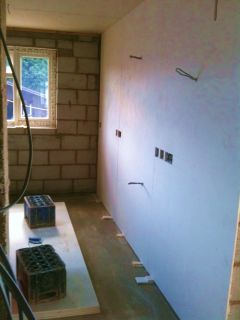
Plastering started, nice & neat, no mess, no fuss. |
|
|
|
|
|
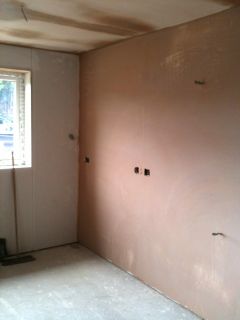
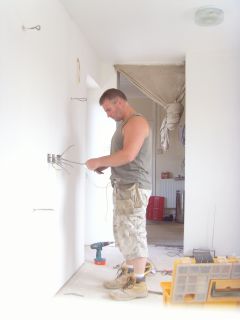
I always give my jobs at least one coat of emulsion, just so its easier for you to paint onto. |
Putting the electrics in |
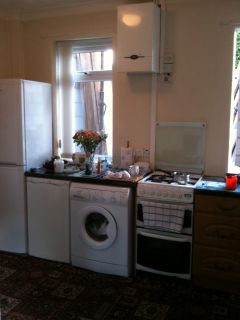
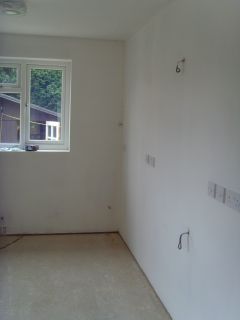
A lovely simple kitchen extension |
|
|
|
|
|
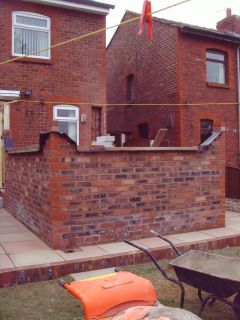
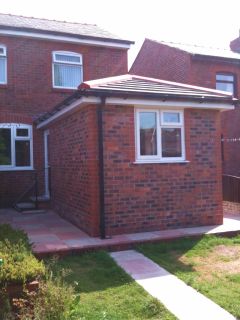
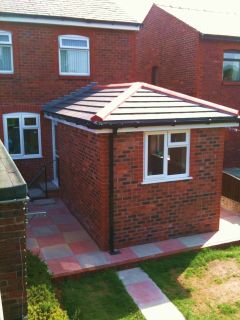
Flagged around the sides |
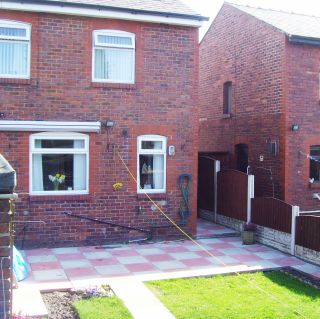
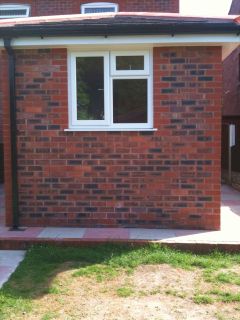
Front elevation |
Finished Job |